/
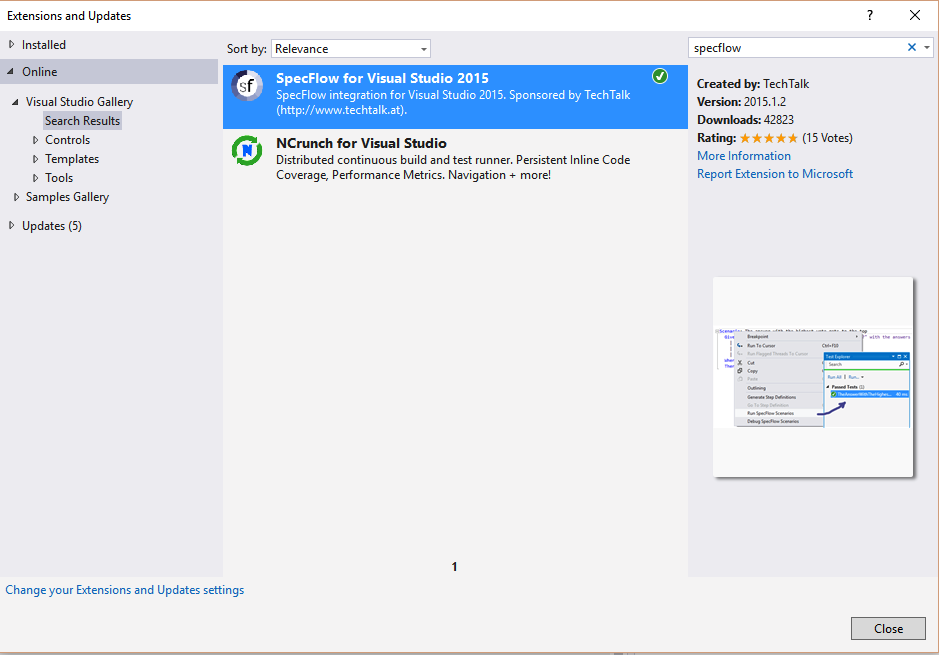
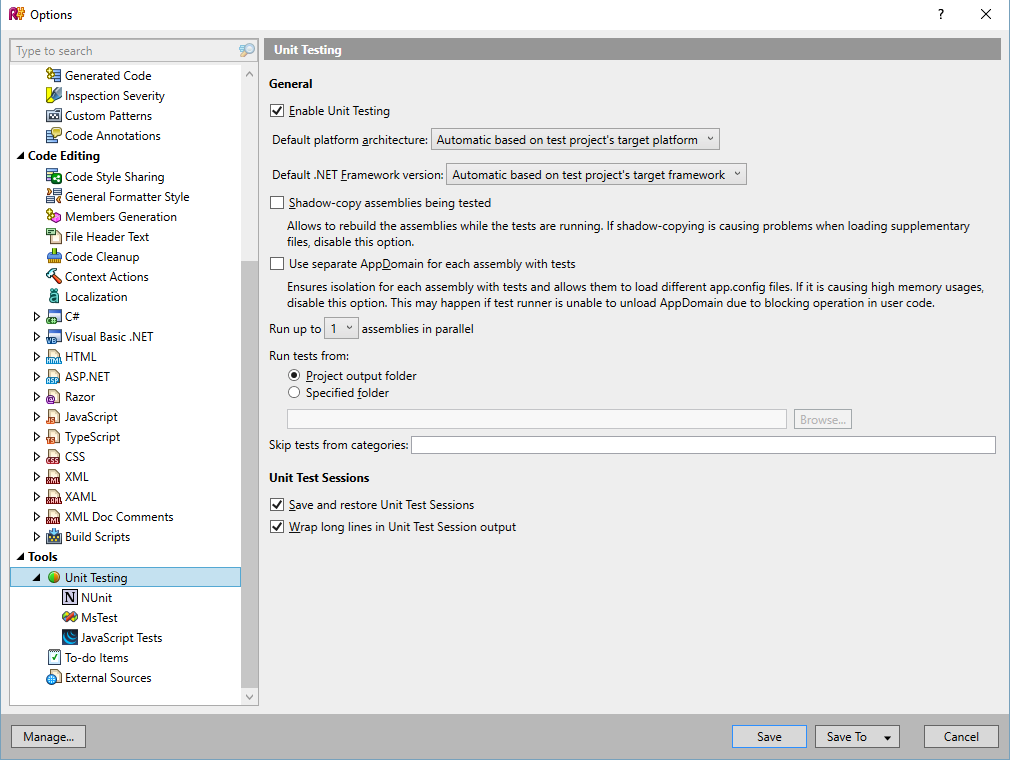
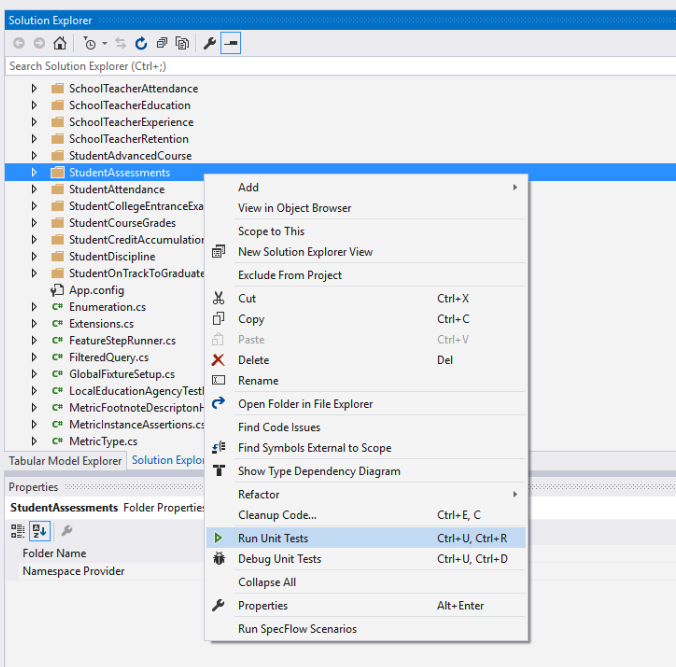
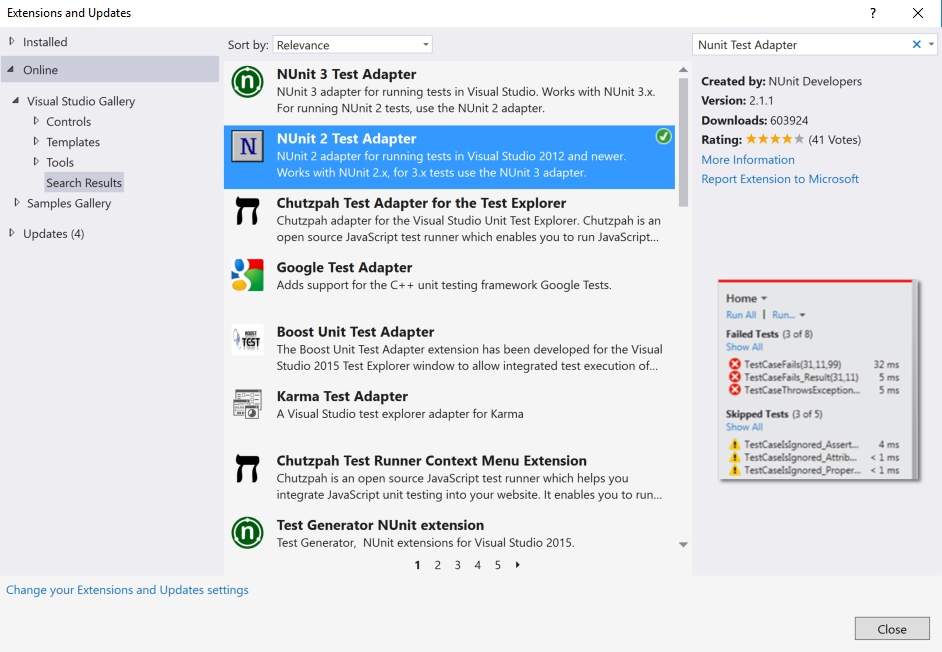
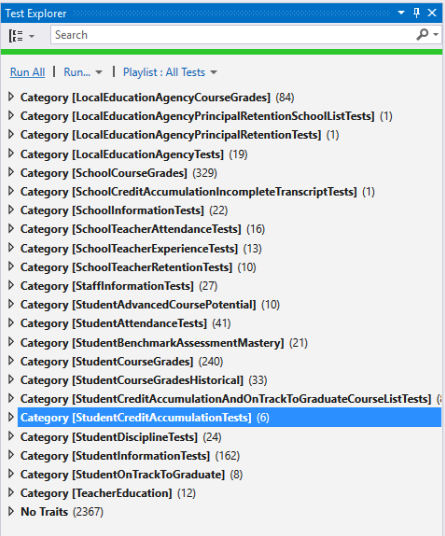
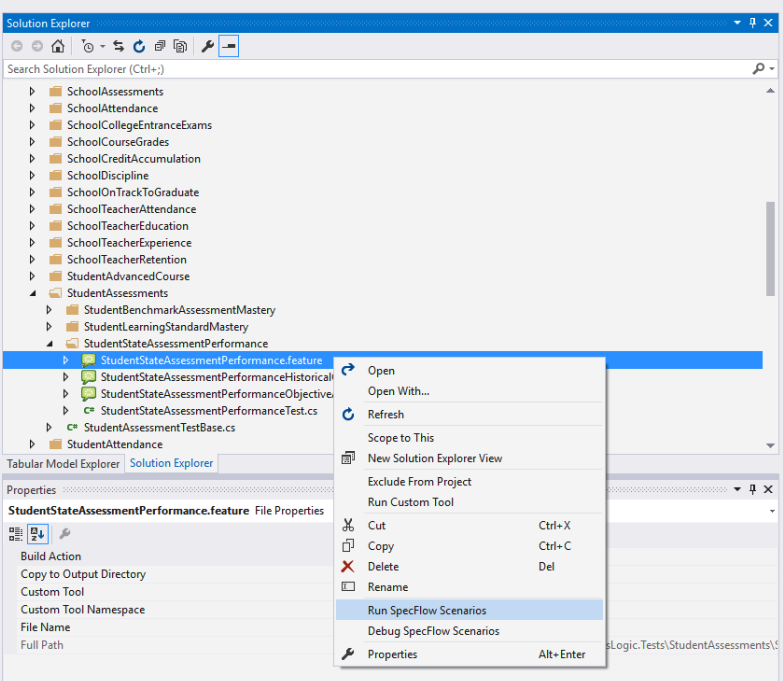
How To: Execute SpecFlow Tests in the ETL Solution
The Ed-Fi “Classic Dashboards” are no longer supported through the Ed-Fi Alliance. You can still receive support and maintenance through the Ed-Fi vendor community. Please look at any of the vendors’ dashboard solutions on the Registry of Ed-Fi Badges or the Ed-Fi Starter Kits if you are looking for a visualization solution to use with the Ed-Fi ODS. This documentation will remain available to assist existing Classic Dashboard implementers.
How To: Execute SpecFlow Tests in the ETL Solution
, multiple selections available,
Related content
Running the Postman Integration Tests
Running the Postman Integration Tests
More like this
Running the Postman Integration Tests
Running the Postman Integration Tests
More like this
Getting Started - Source Code Installation
Getting Started - Source Code Installation
More like this
Getting Started - Source Code Installation
Getting Started - Source Code Installation
More like this
Getting Started - Source Code Installation
Getting Started - Source Code Installation
More like this
