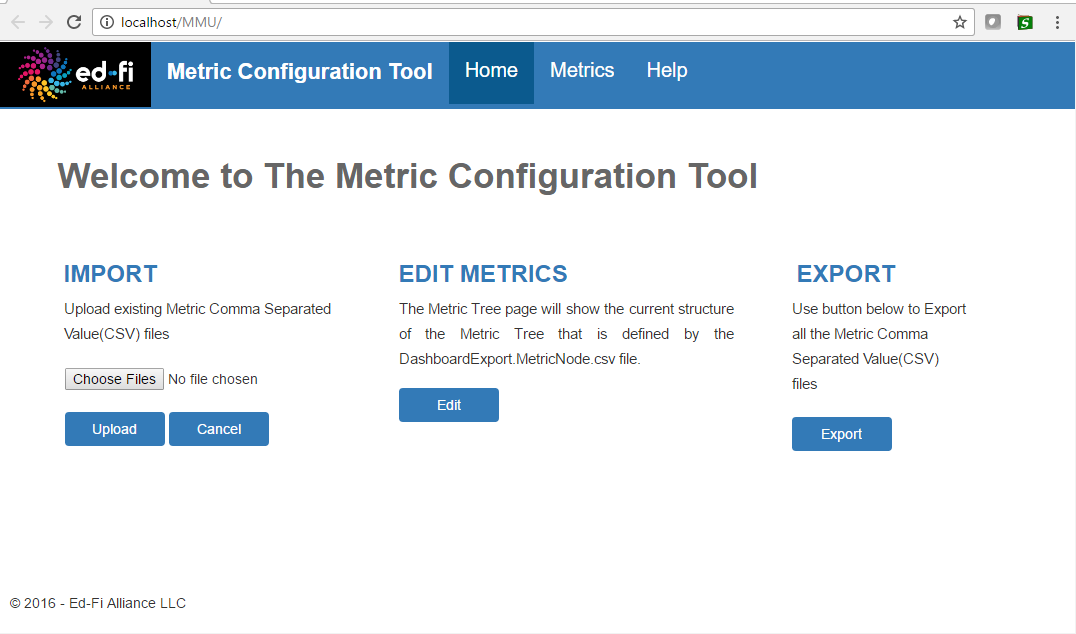
This section outlines the steps necessary to build and run the Metric Configuration Tool on a development machine. The information on this page is intended for coders and developers looking to implement the Metric Configuration Tool in their solution – business analysts will typically use an instance deployed to a staging or production environment.
The source code for this utility can be found in the Ed-Fi Dashboard repository at Ed-Fi-Alliance/Ed-Fi-Dashboard/MetricConfigurationTool. These instructions assume that you have followed the instructions and have the prerequisites outlined in the UI Developers' Guide - Installation.
The steps required can be summarized as:
Each step is described in detail, below.
Each implementation of an Ed-Fi ODS can have different Ed-Fi Descriptor IDs for assessment category types, reporting method types, and academic subject types. The out-of-the-box the Metric Configuration Tool uses the Descriptor IDs from the sample Glendale data set which may not match the IDs in your implementation.
- If you are using the Metric Configuration Tool to configure metrics for the Glendale sample data set, then you can use the out-of-the-box values. Similarly, if you are running a development instance of the as-shipped code, the out-of-the-box values can be used.
- If you are using the Metric Configuration Tool to configure metrics for a different data set, the Metric Configuration Tool database scripts will need to be updated, as follows:
- Navigate to the folder \Ed-Fi\MetricMetadataUtility\UtilityScripts in File Explorer which contains the following scripts to create the insert data for the Metric Configuration Tool.
- Execute each script against an instance of the Ed-Fi ODS that contains the implementation-specific types and Descriptors. This will generate an Insert script for each type set. Note that there are ODS-version-specific scripts for assessment academic subject types.

- Navigate to the folder \Ed-Fi\MetricMetadataUtility\Database\Scripts\MetricsMetadata_3.1\up in File Explorer which should have the SQL files listed below.

- Update the AssessmentCategoryType Data.sql, AssessmentReportingMethodType Data.sql, and AssessmentAcademicSubjectType Data.sql scripts with the Insert script data generated above.
- Open a PowerShell window and navigate to \Ed-Fi\MetricMetadataUtility\Database.
- Run the command
.\build rebuild 3.1 to create "MetricsMetadata" and "MetricsMetadata_Test" databases on your local instance of SQL Server.
- Within Visual Studio, open the "MetricsMetadataUtility.sln" solution file from the \Ed-Fi\MetricMetadataUtility\Application\src directory.
- Build the solution.
- Run the application (F5 or Ctrl-F5) and verify that it launches in a browser window.

You can now start using the application. The Metric Configuration Tool - Adding a New Metric section of this documentation is a great place to start.

