Getting Started - Installation
- Stephen Fuqua
- David Clements
The MetaEd IDE installation steps are fairly straightforward. It's worth noting that the MetaEd IDE is a plug-in to the free, open source Visual Studio Code text editor. The installation steps below walk you through a complete install.
The installation steps can be summarized as:
Detail on each step follows.
Troubleshooting
If you run into issues during install, please consult the troubleshooting information located at: Installation and Update Issues If you still have issues, please raise a open a source case through the Ed-Fi Community Hub and provide details of the issue.
Step 1. Download and Install Visual Studio Code
Download and install Visual Studio Code, which is available for Windows, Linux, and MacOS
The Ed-Fi development team does not have the resources to test MetaEd on an Apple device. In theory, it should work.
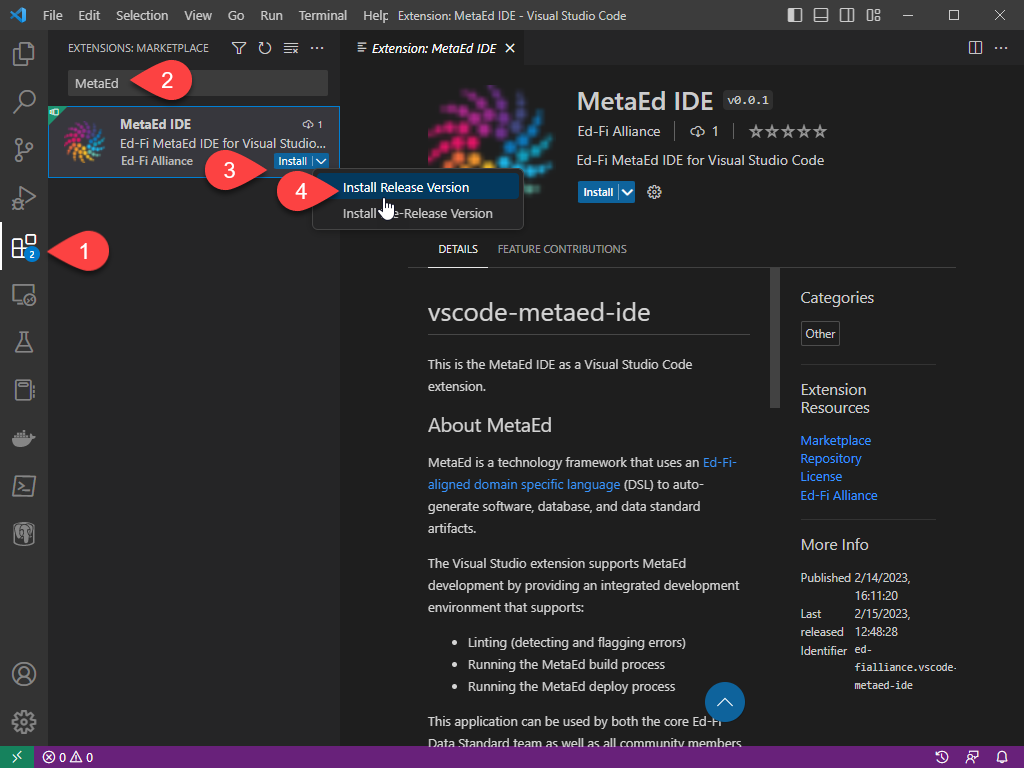
Step 2. Install the MetaEd Extension
Open the Extensions panel from the toolbar on the left, or from the View > Extensions menu. Search for MetaEd and install the latest release version.
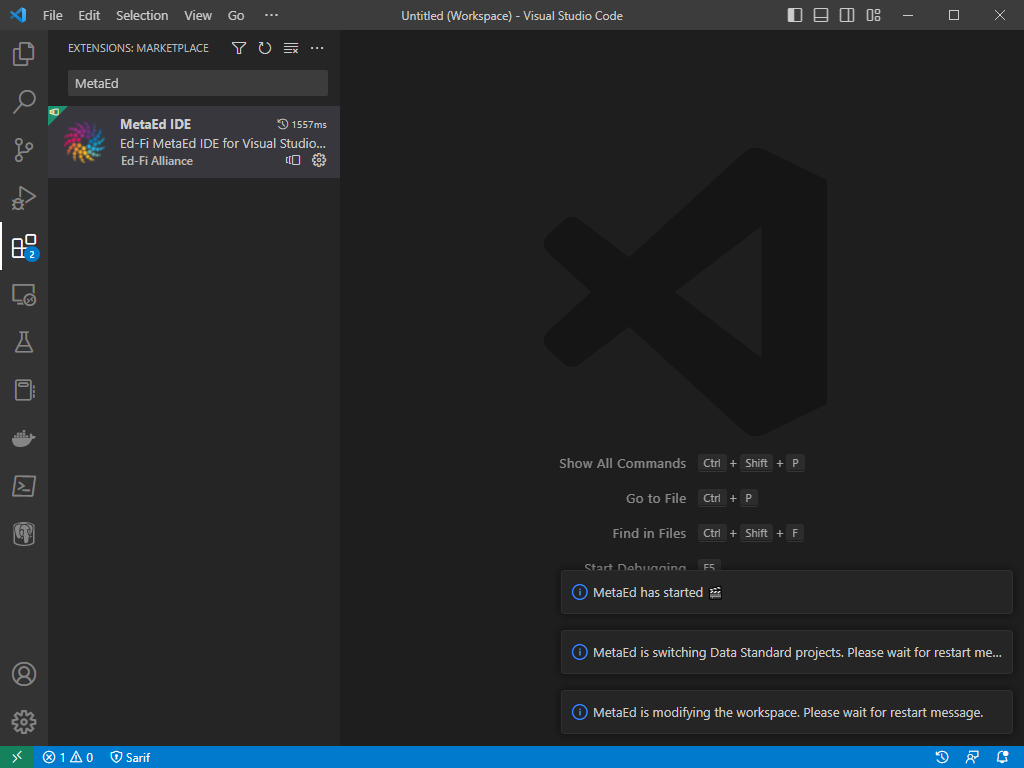
Step 3. Wait for the Extension to Activate
Wait a moment for the extension to activate. When ready, you'll see a notification that "MetaEd has started".
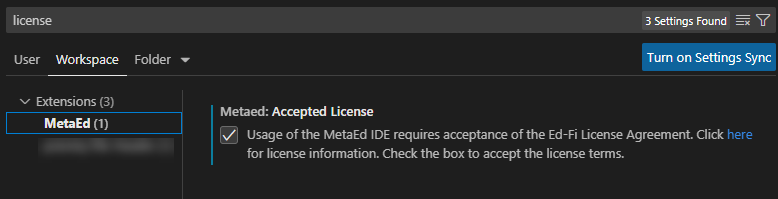
Step 4. Configure Settings
Open the settings from the File > Preferences > Settings menu. MetaEd IDE - Creating and Maintaining Your Extension (X) provides more detail on the settings, most of which depend on your project needs. Most importantly, please be sure to accept the Ed-Fi License Agreement for Use of MetaEd, as shown in the screenshot below.
That's it! You can now start using MetaEd in Visual Studio Code.
Getting Started Documentation Contents
Find out more about how to begin using MetaEd: